Friday, 15 August 2014

Putting the new front end on

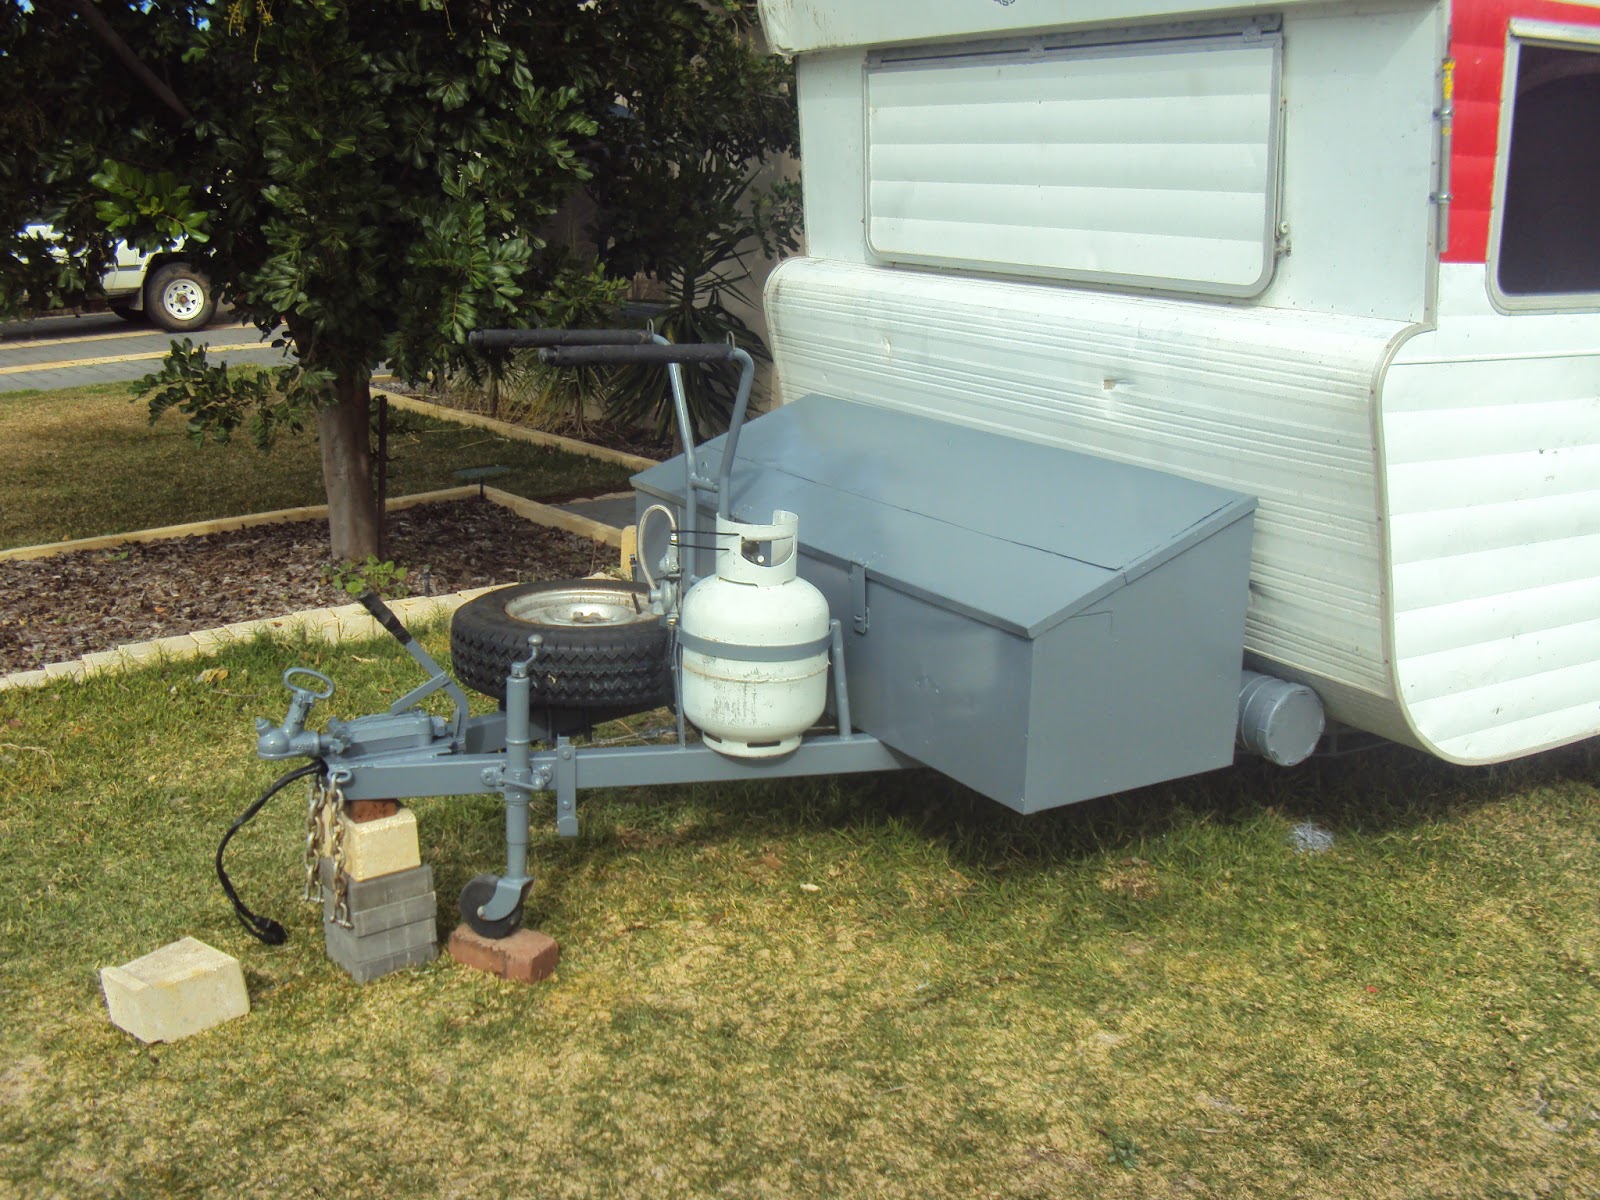
I decided that it was time to spruce up the annex pole holder. As I was running low on paint, I decided to cheat a bit. Didn't do too well throughout the exercise with paint. Spilt about 200ml of undercoat on the grass. Lost about the same with the first coat in the same manner in almost the same spot. The can fell from the bench onto my drill box, and as the lid was only pushed back on, it dribbled down the sides.Then painting the chain with a spray can that i thought had run out of air, I punctured it to get to the rest of the paint - and it hadn't run out of air! dots all over the drive way - SWMBO was not impressed, and to her credit said that the drive is covered in other marks (owned a falcon) so it probably doesn't matter. No wonder I love her. Some how, there is about 50ml left for touch up.


Had to re bend the gas pipe and add a fitting cos the bottle is now 1m further forward. The pipe used to only be held up by the regulator being attached to the van. I've now attached it with brackets to hold it up properly. 
The bike rack i did my measurement, and as can be seen aint straight at all. So attached the rack to the mount and bent some more brackets


Having the rack made all the difference. Fits perfectly, a couple of tek screws top and bottom and tis done.
The bracket is part of a scaffold thing I picked up years ago, that has finally come in handy.


The spare took a bit of shuffling to get it into the correct spot and the regulator is mounted to a metal strip that is attached to the cylinder holder. This keeps it above the height of the LPG. Re adjusted the brakes. So the van is now all ready to go. There are a few bits and pieces that need doing and of course the ongoing maintenance. But as with any refit, the van is a blank canvas and we are only restricted by our imagination and what we can find in the council pick ups!

Thursday, 14 August 2014

tool box for new draw bar


 Now that we have a bigger draw bar, a tool box would be handy to put the boat in. Cheapest box $97, small and flimsy. Box that would suit, $400 and weighs far too much.
The ingenious plan...make my own out of a galvanized shelving unit.
Start with a cardboard model and see where to fold for the best results:- this should be a piece of cake!

1. Empty shelves and kick the wife's car out of the garage to give me somewhere to work.

2. Remove shelves - save for later.

3. Cut top and bottom shelf across the center and stand upright.

4. Using a rope 1/3 and 2/3 of the way down, pull together to make 1/2 the width - sorry no photo of that, dunno how I missed taking one!

5. Lay the whole lot down again and rivet the ends to the desired angle

6. Cut off the side, that is now the top as this will form part of the lid.


7. Using the rubber persuader get the fold to a 90 degree angle.

8. Cut off the top bits to make a slope from front to back. By adding the cut off bits to the front makes the slope. 

9. Add some support to the back for the lid to hinge from


10. Trim off two of the shelves to make a lid long enough to fit.
11. Add hinges and clasps.


12. Add a lick of paint and she's ready to fit. And you can stick your $400, mine cost $80


Monday, 11 August 2014

Rust, the silent plague

 Whilst inflating the spare, I noticed the rust spots looked a bit worse. A couple of taps from a hammer and most of the bottom of the draw bar fell off!!!
Although better, the other side was also becoming a bit dodgy. This job was gonna be HUGE. I cant imagine how many cutting wheels I would have to use to take the old bar off and my Arc welding is nowhere near good enough to attach the new bar. And how the hell am I gonna get under it?  I put the water proof coating on the bottom without too many problems but using a brush is 100 times easier than weilding an angle grinder in a confined space! Acomec machinery to the rescue.


 The  van was too wide to fit on the vehicle hoist, it was occupied with  another project anyway. So blocks of wood went under the back frame and she was hoisted up and sat on a couple of 44 gallon drums. I had already taken off the gas tank, spare tyre and pole holding tube.

 This shot gives an idea about the angle we put the van on. I just hope there is nothing inside that will let gravity take over.
The old draw bar came off, with a little help from the oxy acet.  We decided to reuse the jockey wheel clamp and other fittings needed. It took me an hour to cut it off with the grinder.  It was at that point that I was glad I wasn't trying to do the job at home with the angle grinder!


Draw bar is in position ready for welding. This is a two man job, as the measurements from the front of the draw bar to the van have to be constantly checked to make sure it's in the middle.
As it was beer o clock and the Mig had run out of Argon, we decided to give it away for day one.


 Day 2 saw the bits come off the old draw bar cleaned up and ready for re use .
I had cleaned up all the bits of metal left from the removal and removed any rust, paint or galvanisation for any part that was to be welded. As this was underneath the van I had to sit on the floor and reach up. I got covered in filings and dirt...now I know why I got the job!


  I enjoy doing work on anything myself. Most of the time, if I need any special tool, I will make do or adapt what I already have. This is a piece of 16mm mild steel that the hitch will sit on. Once again I was glad I wasn't at home because it would have taken me forever and an unknown number of hack saw blades. This machine - You turn it on an it lowers itself at a set rate, then turns itself off when it's finished

 Here is the engineer at work.  After I'd drilled holes in the plate, once again using the right tool, a drill press, the holes went in easily. If I'd've done it at home probably would have taken me all day to drill the holes and wrecked my drill bits
Draw bar all done, I'll take the van home to re do gas lines, wiring and repaint. I have an idea to put a tool box on the bar. I've looked around and the one we need is too heavy and nearly $400. So I have an ingenious plan...

Tuesday, 29 July 2014

A Dunny


We had stored the empty water containers under the bed at the back of the van. But figured, when full, nearly 100kg at the back of the van may not be the best idea. So off came the bottom two shelves of the bookcase (couldn't really use them anyway). Now the weight is up the front and access is much easier.
We were given an unused porta potty and a pot up en suite tent by a wonderful family friend (must get him something special for that). Wanted to make it easy to get to, so off came the bottom shelf of the little book case. Had to raise the unit about 150mm but all fitted perfectly.
The pop up en suite is a good size and can be erected in 2 seconds. But we will only use the en suite if necessary as it takes about 20 minutes to put away!! You are required to wrestle the top to the bottom, twist one half clockwise, the other half anti clockwise, what a pain. Though I must admit more use will hopefully make it easier to return to its carry bag

Solar lights

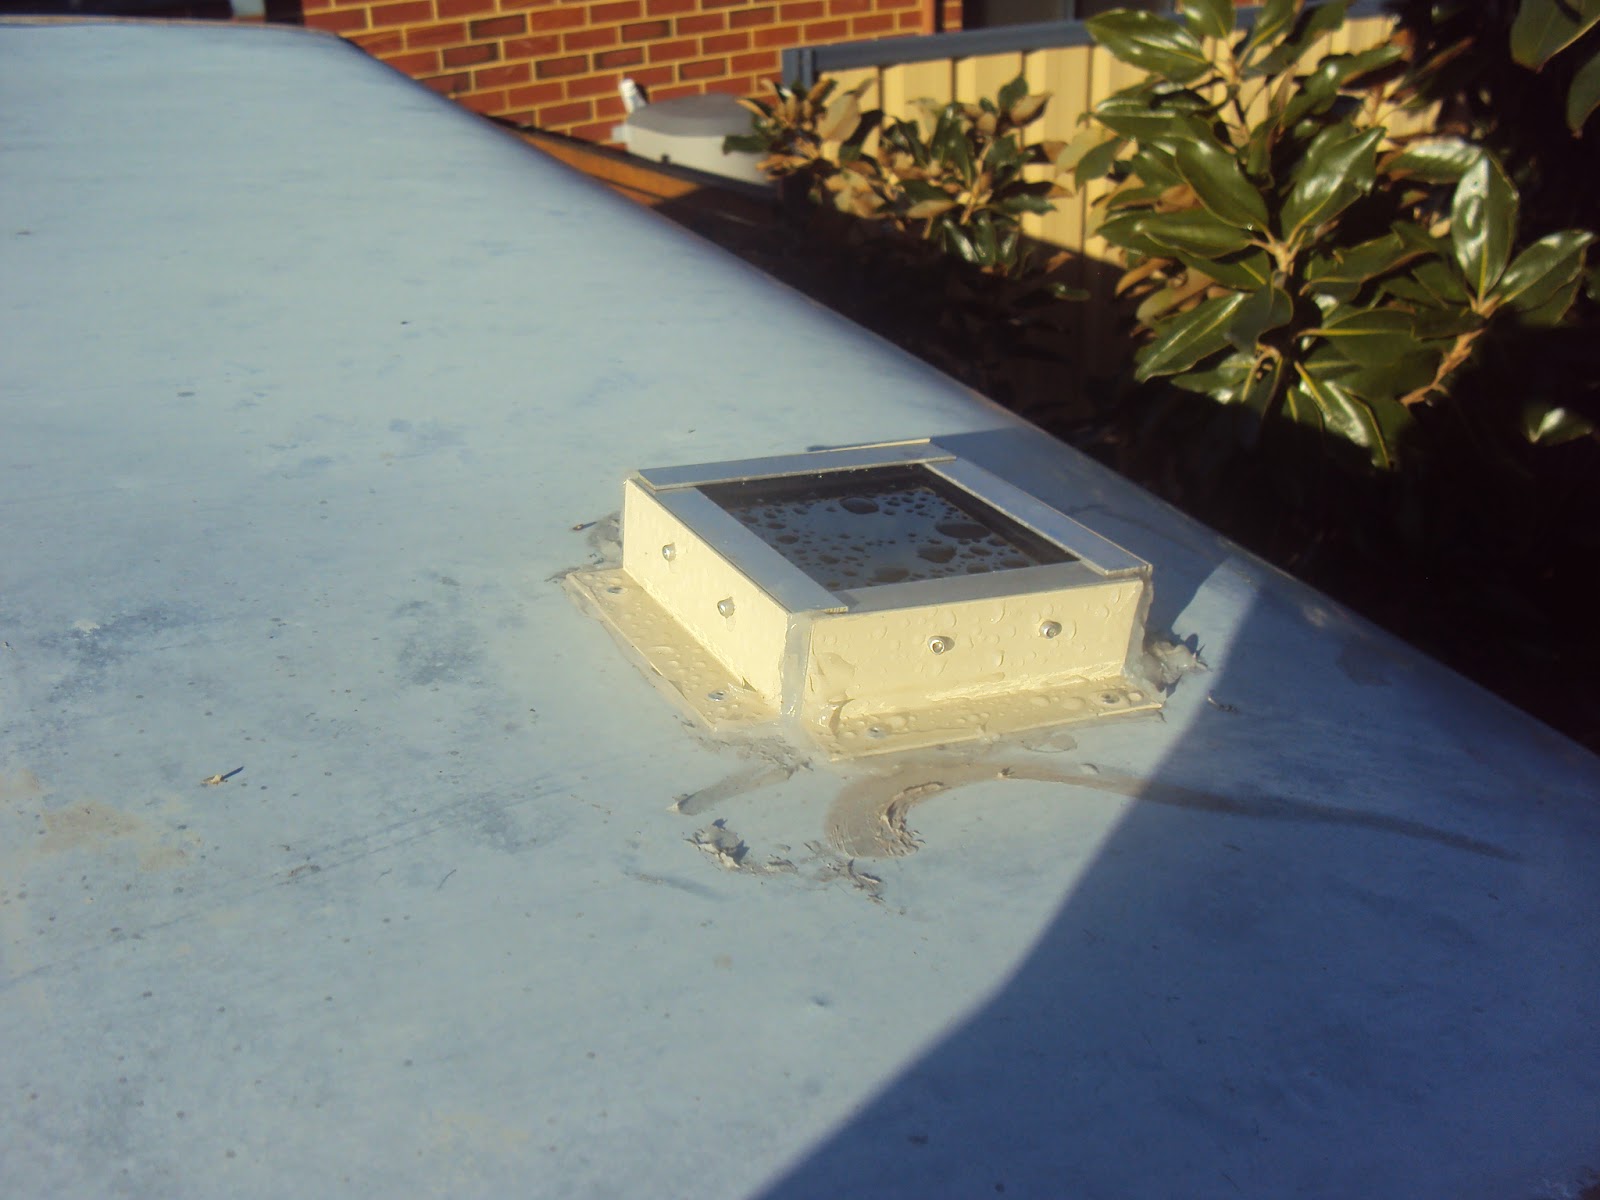
 In our quest to be self sufficient, We have added 3 solar shed lights. Available at Bunnings for $13 each. I have put them more or less where the roof lights are. They have turned out to be fantastic.
I made up some brackets with some 'U' channel, and riveted 'L' bracket to the side.
As the hole in the roof needed to be about 13mm in diameter, I sealed the wire in with silicone instead of using a grommet.
I spent quite a bit of time making sure the unit was totally sealed.
The two lights toward the front of the van, I put both solar panels in the one bracket.

Looking at the photo, top, the vent needs another paint.
Actually the van could do with a fresh coat. But I'll use automotive paint this time...Well when we can afford it. It seems to be the old Murphy's Law again. I'm out of work at the present time, so I have a heap of time to do all the things that need doing on the van, But, have no additional funds to do anything!